Thursday, March 22, 2012

Spinach Dip

Hey everyone!
Sorry I haven't posted in a while. My husband's brother and his wife came down from Charlotte for a visit this past weekend (such a blast!!) so I was a bit preoccupied! Today I have a really easy, simple and tasty appetizer recipe for you. I made this last night for our community group and I'm pretty sure everybody liked it! (The husband didn't taste this one because he's not a spinach fan) It's really versatile and you could easily add or omit things. I've found that it's pretty difficult to mess up spinach dip. Next time I think I will add artichoke hearts and some red pepper flakes for some heat. Bell peppers and sun dried tomatoes would be delightful as well!

I'll have Jon's favorite Jambalaya recipe up soon also so be sure to check back for that! Happy Thursday to you and yours!

What you need
- 2 boxes of frozen chopped spinach, thawed
- 1 medium onion, chopped
- 1 tsp garlic, minced
- 3 green onions, chopped
- 5 oz cream cheese
- 1 C sour cream
- 1 1/2 C grated mozzarella cheese
- 1/2 C parmesan cheese (not pictured)
- 1/4 tsp cayenne pepper
- splash of half & half (or milk)
- salt and pepper


Directions


- Preheat oven to 375

- In a small skillet, heat a bit of oil over medium heat

- Add chopped white onion and garlic and cook 3 minutes (or until translucent and fragrant)


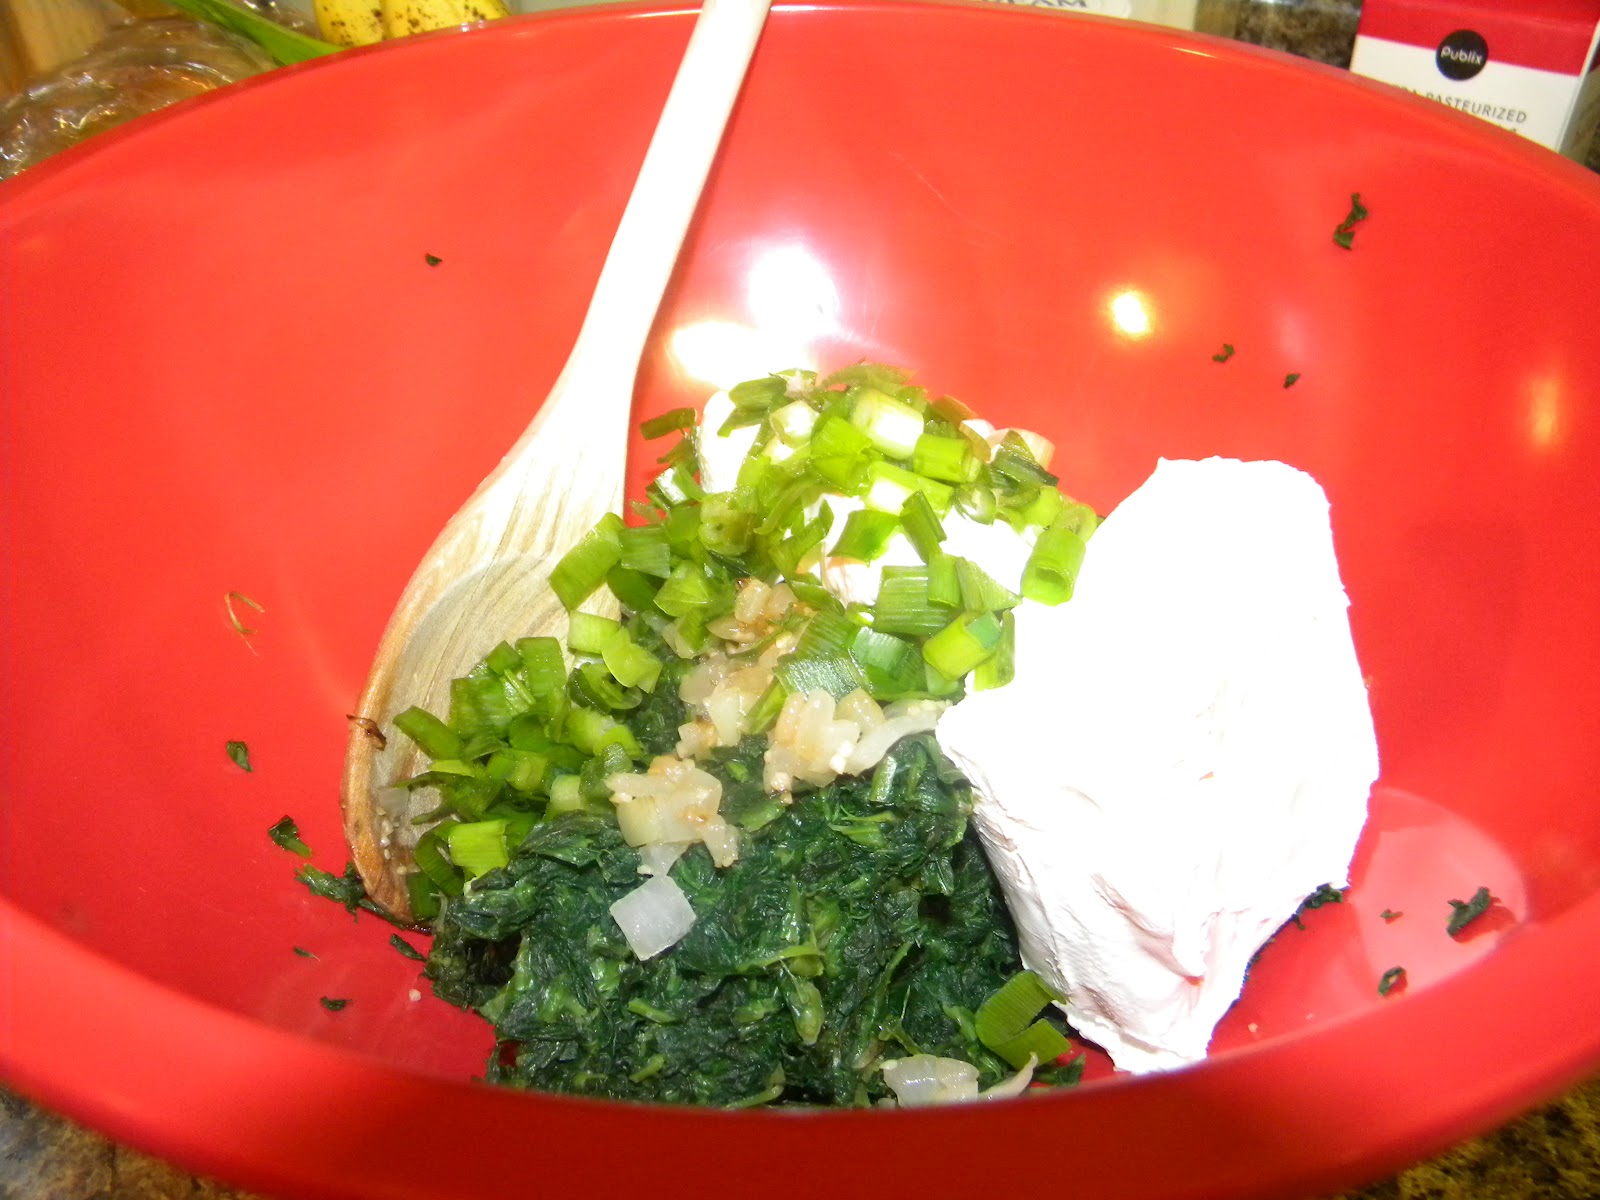
- In a medium bowl, combine the spinach, onion and garlic, green onion, cream cheese, sour cream and half & half


- Mix together until combined


- Add in the cayenne pepper and a dash of salt and pepper (probably 1/4 tsp of each)

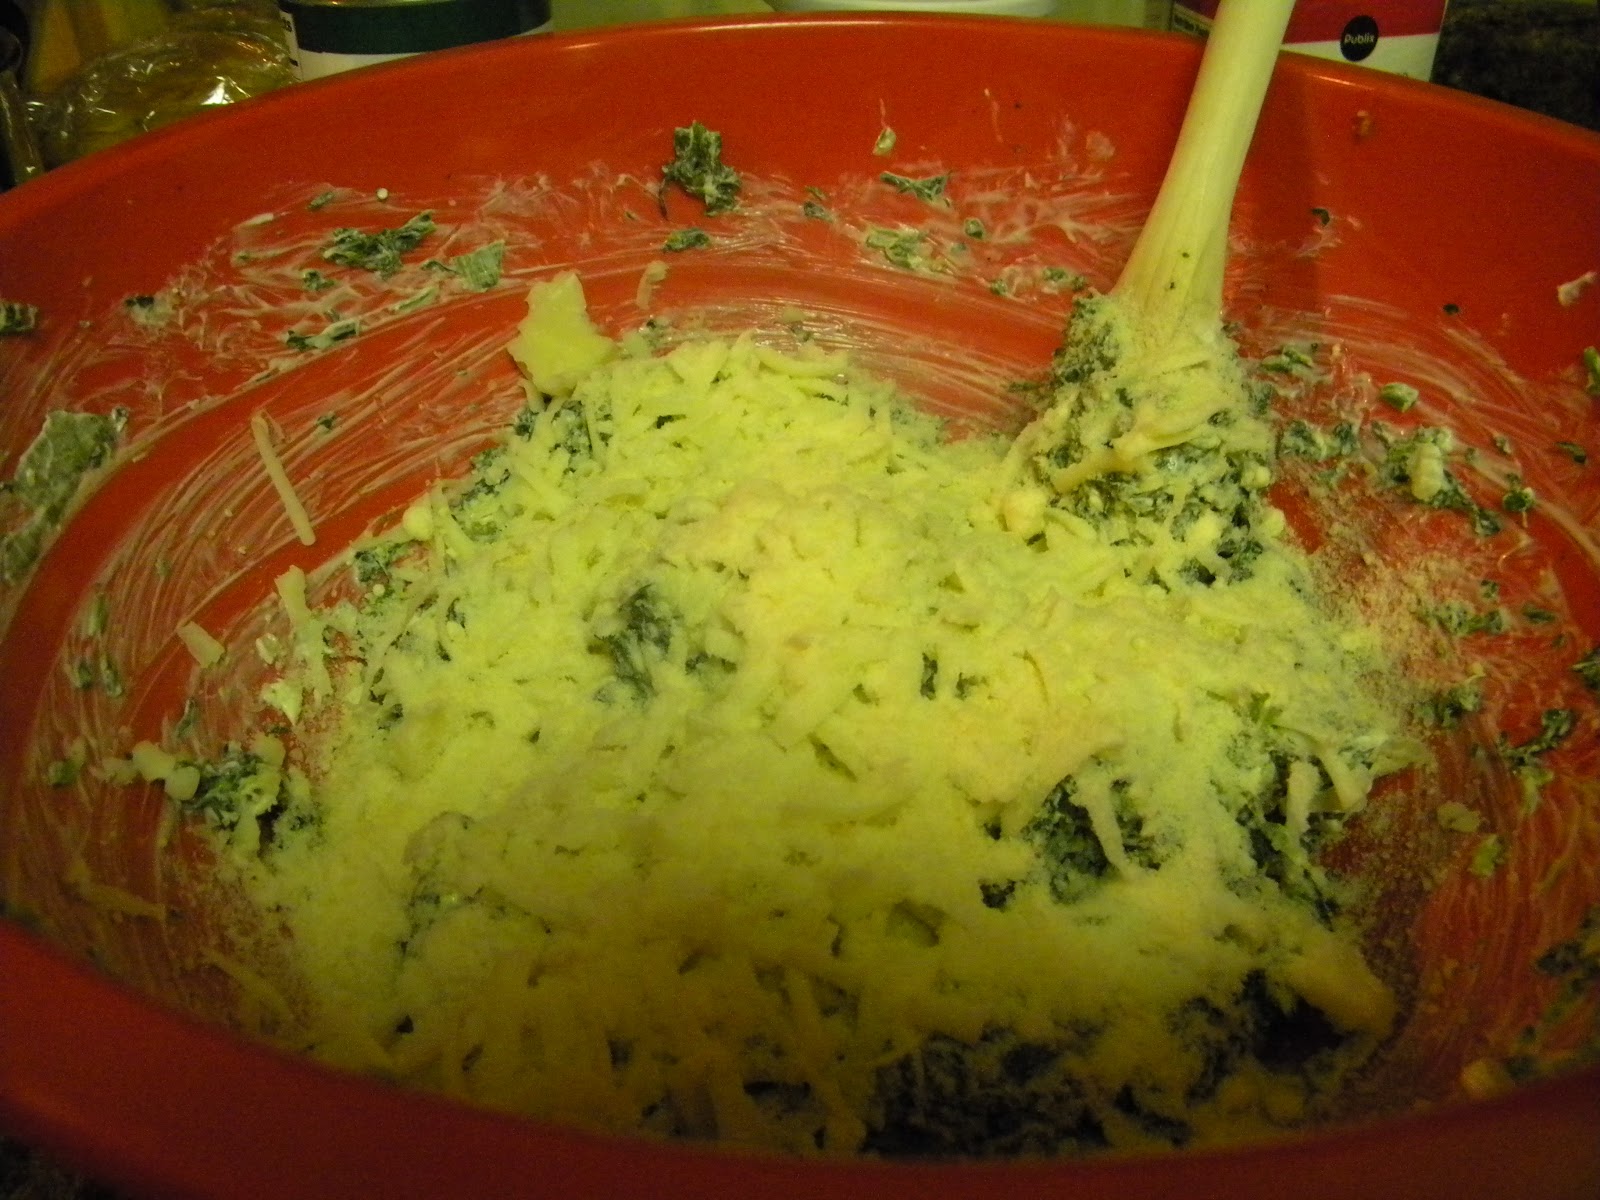
- Stir in 1 C of the mozzarella cheese and all of the parmesan


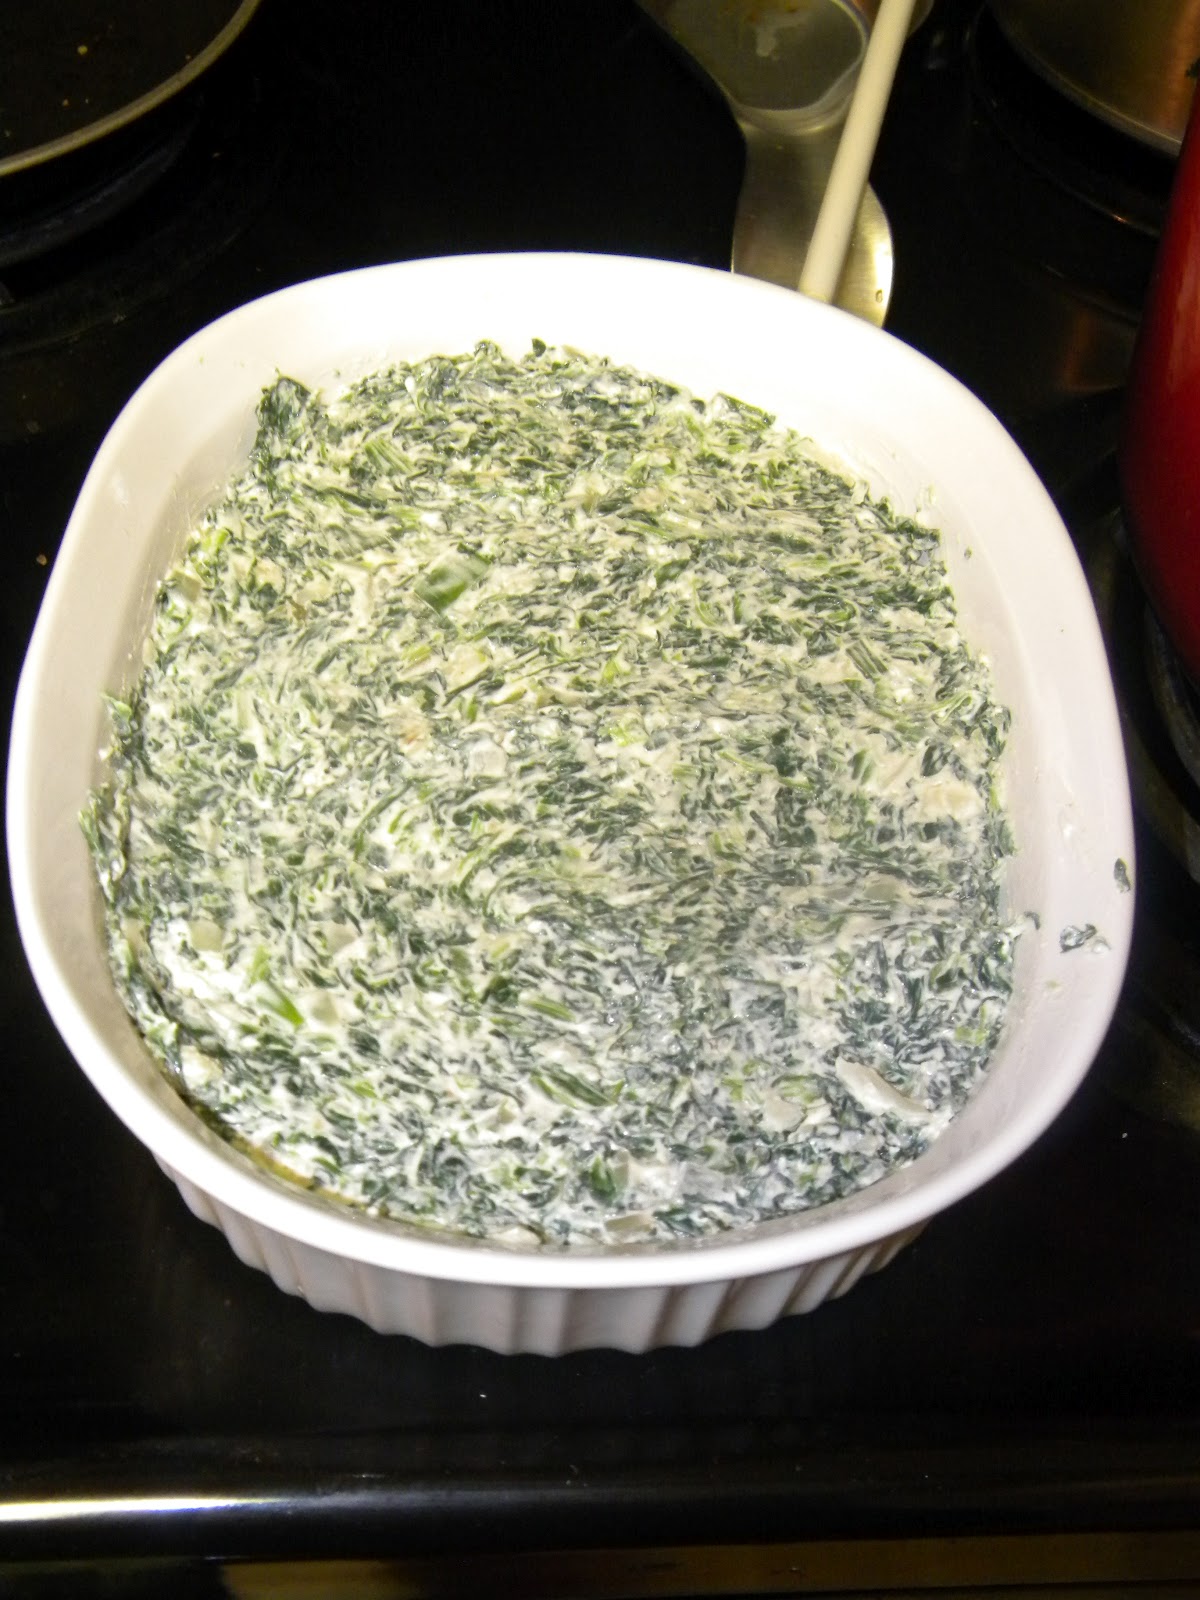
- Put the mixture in a buttered baking dish


- Top with the remaining mozzarella cheese. Bake for 20-25 minutes, until bubbly


- While baking, conquer the mile high pile of dishes in your sink. Oh...maybe that's just me.


- Serve immediately with chips or crackers


*NOTE: For a lower fat version substitute low fat cream cheese and sour cream and use skim milk instead of the half and half.

Friday, March 16, 2012

Chicken Pot Pie

We love chicken pot pie. There is something comforting about it and I made a gluten FULL version of it when we were first married quite often. In fact, I'm pretty certain that my husband put on a couple pounds just from eating chicken pot pie. Once gluten became my enemy though, I figured I would have to do without this comfort food, until I discover gluten free bisquick. I love that there are so many gluten free makeovers happening to name brand products these days! The perfectionist in me would have loved to have made a gluten free pie crust from scratch...but sometimes shortcuts are just necessary. This recipe was really yummy and it's a good meal for company as well! I think next time I'll add some potatoes and cheese and maybe a bit of cumin...I love cumin with chicken. Hope you all enjoy it!

What you need


- 1 1/2 C cooked and shredded chicken breast ( I used 2 chicken breasts)
- 4 T butter
- 1 medium onion, chopped
- 1 bag (12 oz) frozen mixed vegetables
- 1 3/4 C chicken broth
- 3 T cornstarch
- 1 1/4 C almond milk
- 1 tsp seasoned salt
- 1/4 tsp dried thyme
- 3/4 C Bisquick Gluten Free mix
- 1 egg
- 1 tsp dried parsley

Directions


- Cook the chicken. I did 2 breasts at 375 for 20 minutes with seasoned salt and pepper. (You could also use leftover turkey or rotisserie chicken.)


- Change oven temperature to 350

- In a large saucepan melt 2 T butter over medium heat


- Add the chopped onion and cook until translucent


- Add the vegetables, chicken, chicken broth, salt and thyme. Heat until boiling


- In a small bowl mix together 3/4 C almond milk (or milk of choice) and 3 T cornstarch until smooth


- Add to chicken mixture and heat until boiling


- Pour mixture into an ungreased 2-quart casserole dish


- In another bowl, mix together the Bisquick, the remaining 1/2 C almond milk, egg, and 2 T melted butter until smooth


- Drop the Bisquick mixture by small spoonfuls over the chicken mixture


- Sprinkle with the dried parsley and bake for 30 minutes or until a toothpick comes out clean


- Serve and enjoy!

Wednesday, March 14, 2012

Banana Pecan Oatmeal Bread

Hi friends! So I've had almost rotting bananas on my kitchen counter for a week now just sitting there staring at me and occasionally screaming "make me into something yummy!" I finally caved today and made banana bread. I have to admit, gluten free baking still scares me. I'm sure I'll eventually get to the place where it doesn't phase me to substitute flours without a recipe, but for right now I purposefully avoid baking if I can help it. This blog is helping me overcome that...and so did the rotting bananas! I am extremely pleased with how my first attempt of this recipe came out. I'll probably end up tweaking it a little next time but it really is delicious and I can't even tell the difference. Honestly. On the other hand since my tastebuds haven't had the pleasure of bread or a pastry in 3 months I could just be so darn happy to eat a bread-like substance that doesn't resemble cardboard that I don't notice a difference. Make it for yourself and you decide.

Banana Pecan Oatmeal Bread (adapted from the GlutenFreeHomemaker.com)


What you need
- 1/2 C brown rice flour
- 1/4 C sorghum flour
- 1/4 C potato starch
- 1 C rolled oats (g. free)
- 1 tsp baking soda
- 1/2 tsp baking powder
- 1/2 tsp kosher salt
- 1 tsp ground cinnamon
- 1 tsp xanthan gum
- 1 /2 C coconut oil (or oil of choice)
- 3/4 C sugar
- 2 eggs
- 1 tsp vanilla
- 1 1/2 C mashed bananas (about 3)
- 1/4 C almond milk 
- 1/2 C chopped pecans


Directions

- Preheat your oven to 350

- In a small bowl combine the first 9 ingredients (through the xanthan gum)


- In a large bowl mix together the oil, sugar, eggs and vanilla until smooth


- Mash your bananas in a small bowl. Add the milk and mix gently


- Alternate adding the dry ingredients and the banana mixture to the oil mixture, beginning and ending with the dry ingredients, and stir until smooth. (dry, bananas, dry, bananas, dry is what I did)


- Here is what the batter should look like


- Chop up some pecans


- And stir them in gently


- Pour batter into a greased loaf pan and bake for 50-60 minutes, or until a toothpick comes out clean


- Ta-Da!


- Allow the bread to cool before slicing

- Enjoy!


Thursday, March 8, 2012

Zuppa Toscana Soup


I have a super delicious soup recipe for you all today! I made this the first time a few months ago, before I even know about my gluten issue and it just so happens that it's naturally gluten free! No substitutions needed (sigh of relief). This is a really easy and hearty soup with just the right amount of spice (although the husband always says it could use more...he has a spicy palette). If you've never cooked with kale before don't be scared. It's a wonderful vitamin packed leafy green and provides a great texture to this soup. If you can't find kale you could easily substitue spinach...just don't add it until the last few minutes because it wilts much faster than kale. Also, you could probably make a meatless version of this soup using vegetable broth and adding white beans in place of the sausage. Hope you all enjoy it!


What you need
- 1 lb chicken sausage, casings removed (I got sun dried tomato and basil flavored but anything would be good)
- 1 onion, chopped
- 3-4 cloves garlic, minced
- 1/2 tsp red pepper flakes
- 1/2 C white wine
- 3 C chicken broth
- 2 1/2 C water
- 2 C chopped kale
- 5 small red potatoes, cut in bite sized pieces
- 1 C heavy cream
- Salt and pepper to taste

Directions


- Heat a large stockpot or dutch oven over medium heat. Add the sausage, breaking it up as it cooks


- When the sausage is cooked, remove it with a slotted spoon to a towel lined plate to drain


- Add 1 T olive oil to the pan and add the chopped onion. Cook 5-7 minutes

- Add the garlic and red pepper flakes. Cook 1-2 minutes or until fragrant


- Add 1/2 C white wine to deglaze the pan. Scrape up all the yummy browned bits from the bottom of the pan. Flavor, flavor, flavor!


- Add the chicken broth, water, potatoes, kale and the cooked sausage. Bring to a boil and then simmer for 20 minutes


- After simmer, add 1 cup of heavy cream and stir to combine


- Add salt and pepper to taste. Start with a palmful and go from there. Don't be afraid of the salt, the potatoes need it! I added kosher salt and seasoned salt and fresh cracked pepper


- That's it! Sprinkle a bit of parmesan cheese on top if you have it and enjoy!


The husband approves!

Jon and I are off to St. Augustine for the next couple of days. Hope you all have a wonderful gluten free weekend!

Monday, March 5, 2012

Meatless Monday

As I mentioned in my post about spaghetti sauce, Monday nights are always spaghetti nights at the Brown household. However, I have another meatless option for you guys today. Now, we are in no way vegetarians or even trying to be (my husband wouldn't survive on a vegetarian diet...I know this to be true) but since watching things like Food Inc. and Forks over Knives, we decided to majorly cut back on our animal protein intake and try other options. I've gotten in the habit of making only 1-2 meat based meals per week and so far so good! I've really felt SO much better about what I'm eating (we do completely organic chicken and beef now) and my meat loving hubby hasn't complained or said he misses meat once. All that to say, it's an easy switch...you just have to train your brain to realize that you don't need animal protein every single day.

With that being said, I'm hoping to post a few different meatless options that we have regularly to give you ideas. Spaghetti is one of them. Just make sauce without meat (and don't buy a "meat sauce" either) and you're good to go. I swear you won't miss the meat. Another great meatless option is baked potatoes. Potatoes are naturally gluten free, pretty cheap, a good source of vitamins and potassium and are extremely versatile. One of my favorite ways to eat them is twice baked. These are so simple and I debated even putting the recipe on here, but I didn't know how to make them when we first got married so I'm hoping that it helps someone out there who is just as "in the dark" about these as I once was. The husband loves loves loves these...which is a good bonus.

Twice Baked Potatoes


What you need (makes 8 potato halves)


- 4 large baking potatoes
- 1/2 stick butter, cut into pieces
- 4 oz cream cheese
- 1/4 C crumbled bacon
- 1/2 C half n half or milk
- 1 1/2 tbsp dried onion
- 1 tsp seasoned salt
- small palmful black pepper
- 2 green onions, chopped
- 1 1/2 C shredded cheese (I used a mix of cheddar and monterey jack)


Directions
- Bake the potatoes for 1 hour 15 minutes at 400 degrees. Let cool and then slice in half lengthwise


- In a large mixing bowl, add the butter, cream cheese and bacon


- Scoop out the flesh of each potato half into the bowl. Be careful not to tear the shell.

Poor little things, all sad and empty


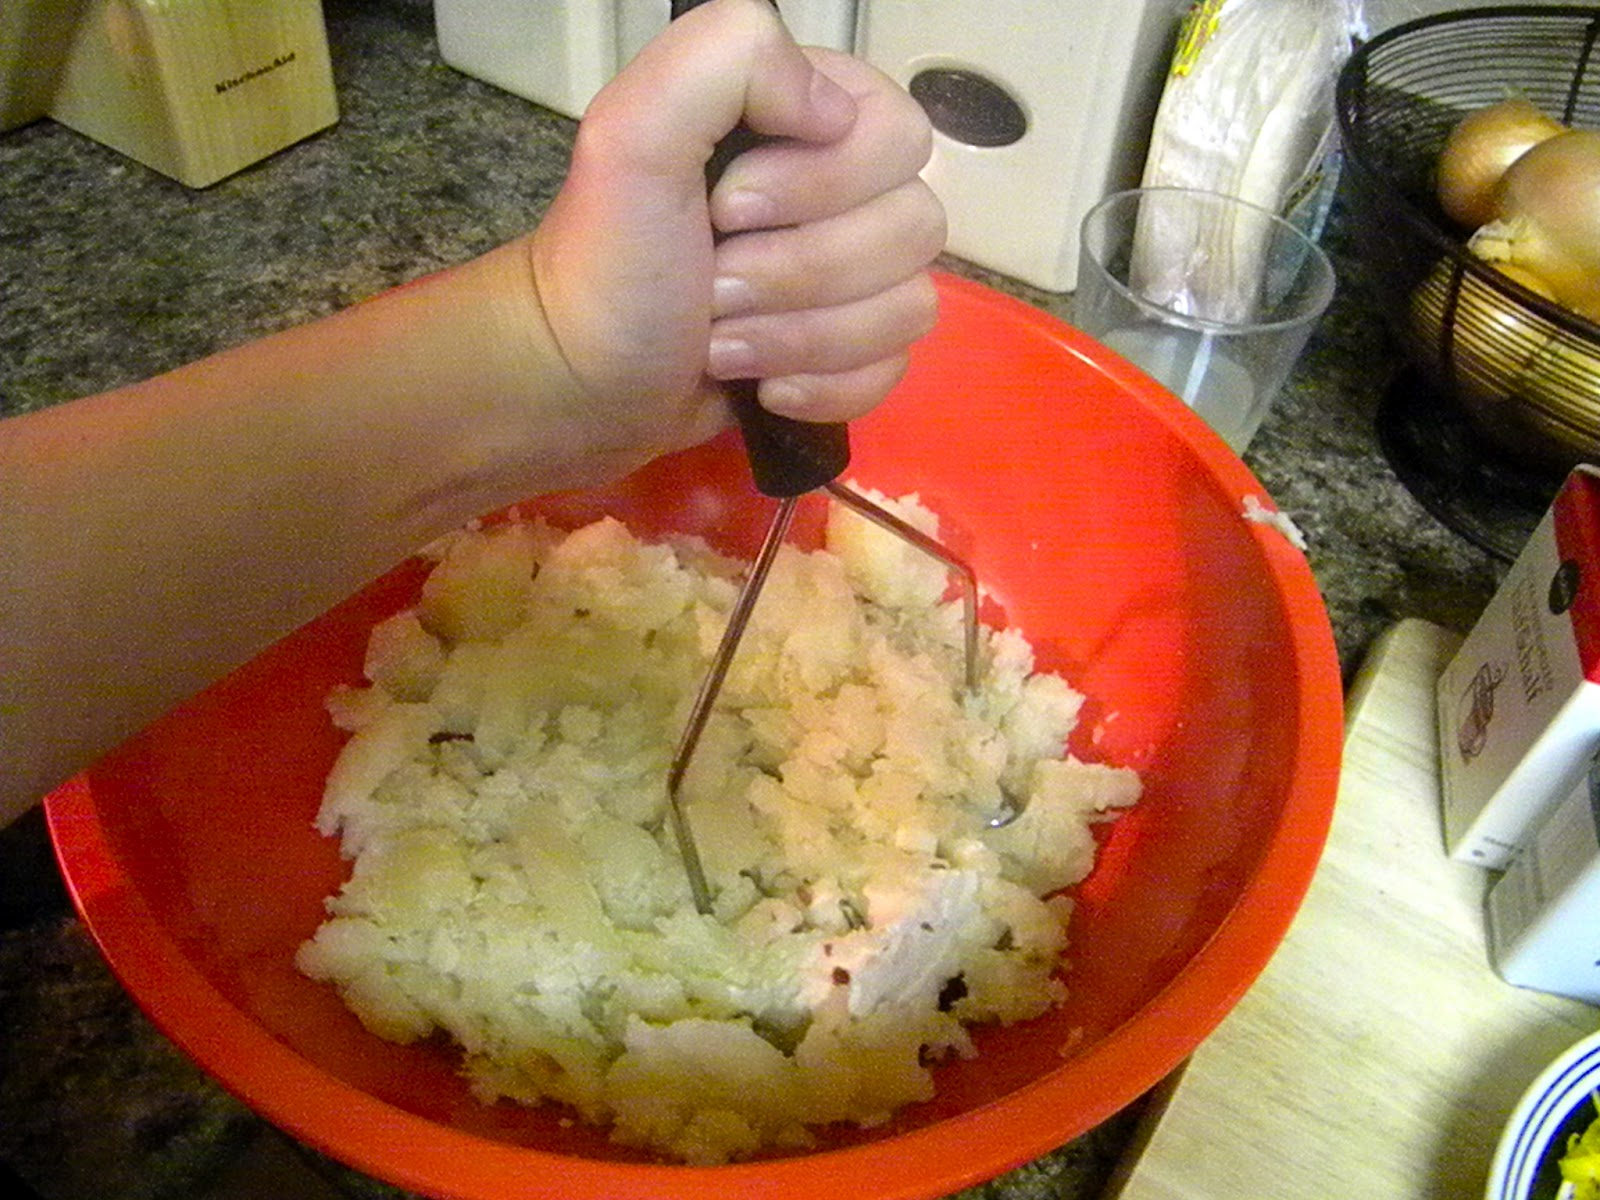
- With a potato masher mash the potato, butter, cream cheese and bacon together

If you don't have a potato masher will you please go get one...right now. Go. Get. One. 


- Add the dried onion, seasoned salt and pepper. Mash together
This is seasoned salt. I use it ALL the time. Go get this if you don't have it already.  And don't forget the potato masher.

- Add the half and half and mash together until you reach the consistency you like. We like leaving little pieces of the potato in them, but if you want them super creamy add more liquid and keep mashing.


- Stir in the chopped green onion. You don't want to mash these because they will bruise and get soggy


- Stir in about 1 C of the shredded cheese


- Refill the empty potato shells with the mixture. Be generous!

Aww...they look so happy now all full of yummy goodness

- Top the filled shells with more cheese and bacon


- Bake for another 15-20 minutes or until the cheese is melted and the potatoes are heated through


- Serve with a side salad for a complete meal

*NOTE: You can tweak this recipe in SO many different ways. Add cooked broccoli, try a spinach and gruyere mixture, or sub chopped ham instead of bacon. You really cannot mess it up! Enjoy!

*NOTE #2: These freeze well! Just skip the green onion if you decide to freeze them. Freezing green onion actually chemically alters it and it will taste funny. If you want to freeze them follow the steps until topping them with cheese and bacon and then wrap them in plastic wrap and put them in a freezer bag. Once you want to make them simply put them in the oven and bake until the cheese is melted and they are heated through! YUM!