Showing posts with label spinach. Show all posts

Thursday, September 20, 2012

Tuscan Bean Soup with Shrimp

My husband absolutely loves shrimp. I mean really loves them. So I'm always looking for good recipes that use shrimp. This particular one is another from the Pioneer Woman. I didn't have everything on hand that her recipe calls for so I had to substitute a few things and also added some of my own. It turned out really well and the husband and I had lots of leftovers for the rest of the week! I know shrimp sounds a little odd, so if you don't like shrimp you can always substitue chicken or just leave a meat protein out all together. It's plenty filling without it! Enjoy!


What you need
- 1/2 pound shrimp, peeled and tails removed
- 1 small onion, diced
- 4 cloves garlic, minced
- 2 stalks celery, sliced
- 1 C carrots, chopped
- 2 T tomato paste
- 1 tsp red pepper flakes
- 2 tsp dried oregano
- 1 can diced tomatoes (15oz)
- 1/2 C dry white wine
- 4 C broth (I used a mix of chicken and veg)
- 2 cans Great Northern Beans (rinsed)
- 2 C baby spinach
- 1/4 C fresh parsley, chopped
- 1 tsp lemon juice


Directions

- Over medium heat in a large pot or dutch oven, heat a bit of oil (I used coconut)

- Add the onion and garlic and cook until translucent and fragrant


- Add in the chopped celery and carrots


- Add in the tomato paste and stir well


- Add the red pepper flakes and oregano


- Add the white wine and scrape up the browned pieces from the bottom of the pan


- Add the can of diced tomatoes and the juice


- Add the rinsed white beans and stir well


- Add the broth and a bit of salt and pepper


- Let the soup simmer for about 20-25 minutes, stirring occasionally

- When the soup has about 5 minutes left, go ahead and prepare the shrimp

- In a medium skillet, melt 2 T of butter (or oil but I like the butter flavor on shrimp)


- Add in the shrimp, parsley and lemon juice


- Cook until the shrimp turn pink and set aside


- Add in the baby spinach just before serving the soup


- Serve up the soup and add some shrimp on top. I also added some grated parmesan cheese.


Enjoy!

Wednesday, August 15, 2012

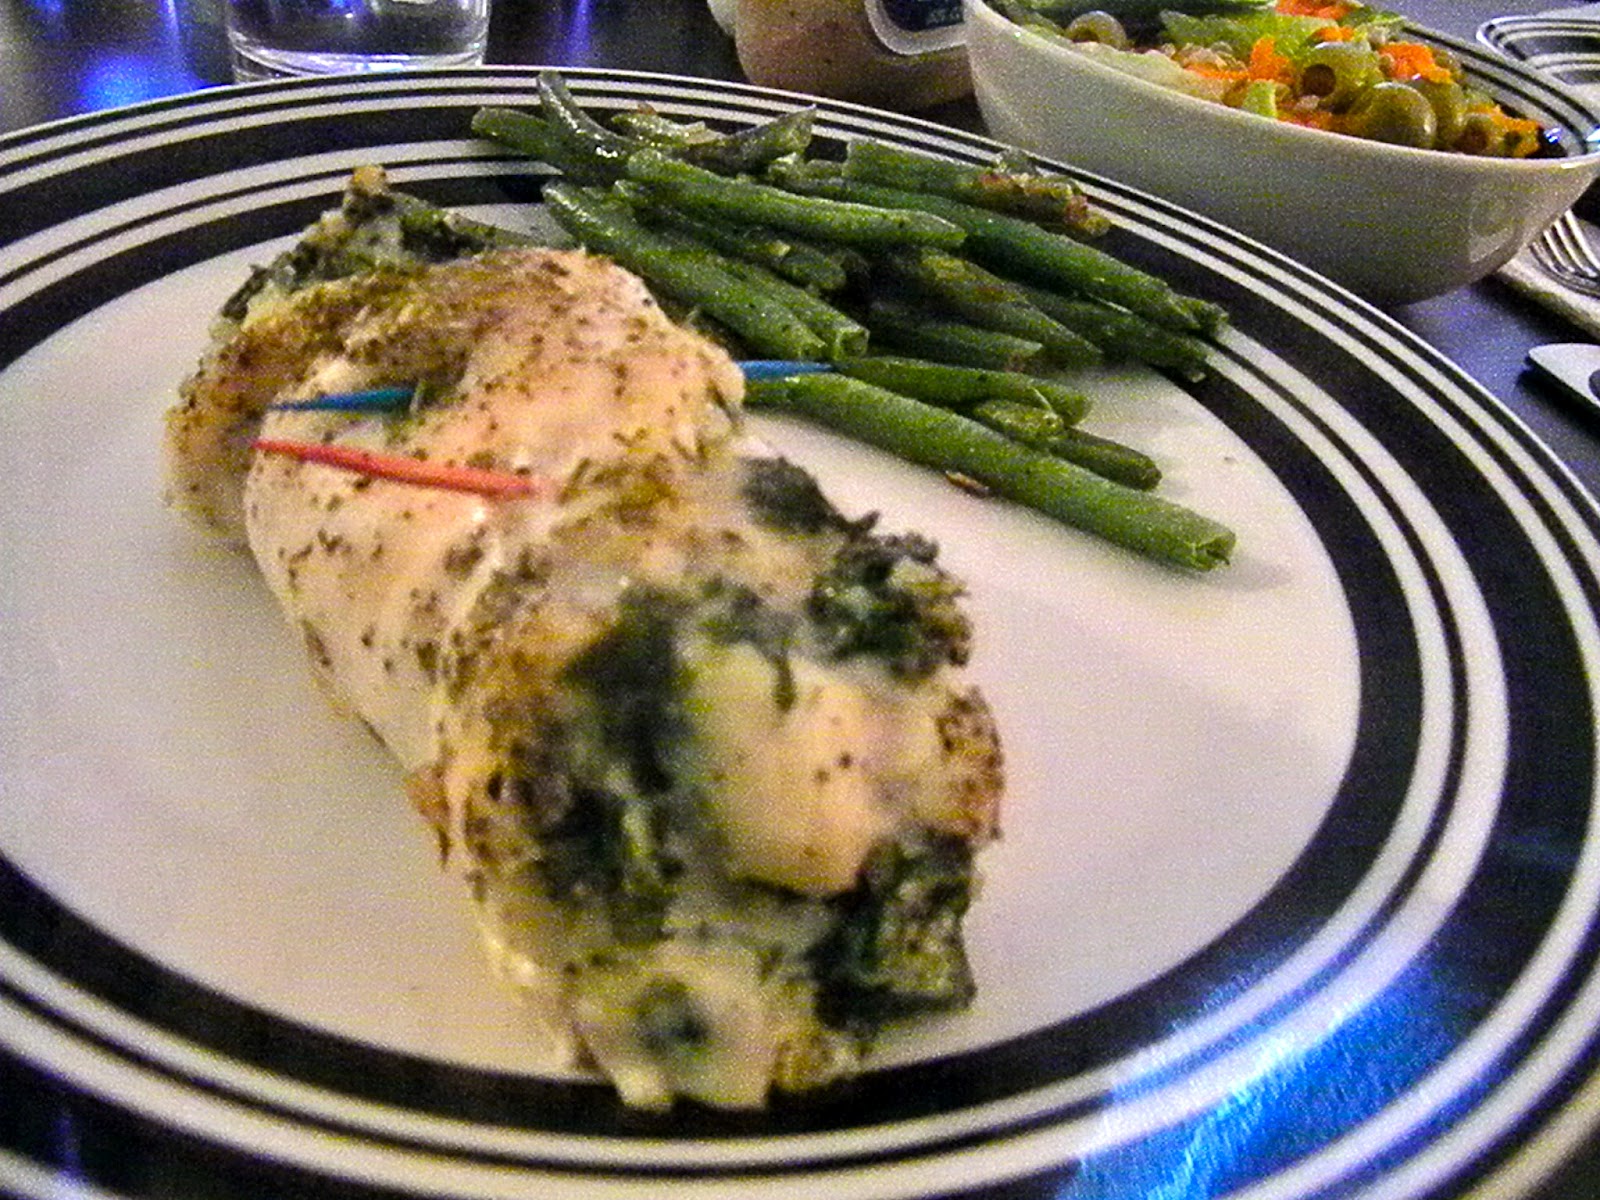
Spinach and Goat Cheese Stuffed Chicken

I absolutely love goat cheese. If you've never tried it (or are afraid to try it) don't let the word "goat" scare you! I've been searching for a while for a way to use goat cheese and still keep it easy and not involve a bunch of weird ingredients. Then I remembered a stuffed chicken recipe that I made a couple years ago and decided to try it with goat cheese. It turned out great and the husband (who isn't normally  a fan of anything with the word "goat" in it) really liked it! I hope you like it too!

What you need
- 2 boneless skinless chicken breasts
- 2 cups fresh baby spinach, chopped
- 4 cloves garlic, minced
- 1/4 C chopped onion (I used dried)
- Salt and pepper to taste
- 2 oz herbed goat cheese
- 4 basil leaves, chopped
-


Directions

- Chop up your spinach and garlic


- Add to a skillet over medium heat with just a bit of oil

- Add the onion and a bit of salt and pepper


- Just cook until the spinach begins to wilt. It will finish cooking in the oven


- Put spinach mixture in a bowl and add the goat cheese and chopped basil. Stir well


- Pound out the chicken breast until they are about 1/4 inch thick


- Season both sides of each chicken breast with salt and pepper and italian seasoning (if using)

- Spoon the spinach and cheese mixture over the chicken evenly


- Roll the chicken and secure with toothpicks


- Repeat with other chicken breast


- Season well with salt and pepper and the italian seasoning

- Place in a baking dish or on a sheet pan and cook for 20-25 minutes at 350 degrees

- Remove toothpicks and serve! We had green beans and salad with ours. Delicious!


*NOTE: I recently made this again and instead of pounding out and rolling the chicken I simply butterflied the breasts to create a sort of "pocket" and stuffed the spinach and goat cheese mixture in it, then folded the top of the breast back over. No need to secure it with toothpicks and I think it was much easier and cut down the prep time a bit.